Health benefits
Pumpkin: low protein
Ingredients
Pumpkin ( 430g ) | Four ( 350g ) |
Warm water ( 35 grams ) | Yeast ( 2 grams ) |
Sugar ( 20 grams ) |
How to make pumpkin buns
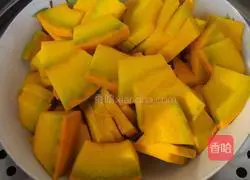
1.Peel the pumpkin, clean it, slice it, place it on a plate, and steam it in a steamer for about 15 minutes~
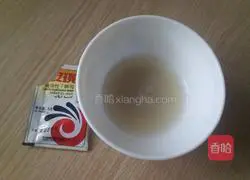 2. While the pumpkin is steaming, put 2 grams of yeast into a bowl and add 35 grams of warm water to let it melt still (the water should not be too hot or it will burn the yeast to death) )
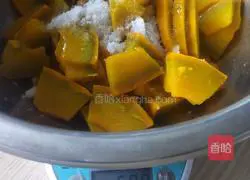
3. After the pumpkin was steamed, there was a small amount of water on the plate and I poured it out.The weight of the pumpkin is "350 grams".Add 20 grams of sugar and crush it with a spoon while it is hot!
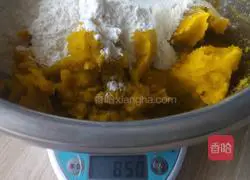
4. Then add 350 grams of flour and start kneading.Pour the yeast water in Figure 2 while adding Use chopsticks to stir evenly into a flocculent form (combine your own actual operations! The water absorption of each brand of flour may be different for reference only!)
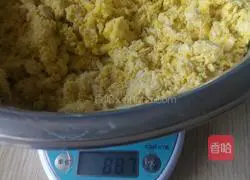
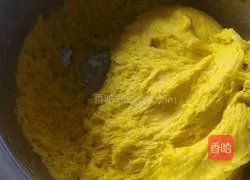
5.As long as the dough is in this state, it should not be too soft.Start kneading the dough with your hands

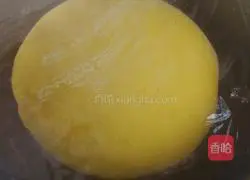
6. Knead the dough into a smooth dough, cover it with plastic wrap and wait for the first fermentation
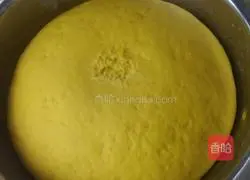
7. The noodles will be ready in about an hour and a half (summer is great!).As shown in the picture, it has doubled in size and is in the shape of a honeycomb! Take it out and put it on the work surface.Prepare a bowl of flour and pour it on the chopping board.Add flour while kneading.It's a bit sticky! Add flour! Drain all the air out of it.The pumpkin will look like plasticine, haha! I’m so tired from rubbing and rubbing! I kneaded it repeatedly for about 15 minutes! Kneading the dough is a critical step.If the dough is not kneaded properly, the steamed buns will not taste good and will not look good
8.After kneading, cover with plastic wrap for the second fermentation
9.Second The second fermentation is quick and it will be ready in half an hour (because it is summer now).Just spread some dough and knead the dough to remove the air! (I completed the whole process by myself and I didn’t take any photos when kneading the dough.Please forgive me)
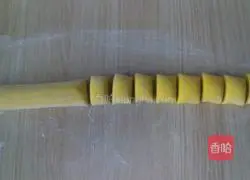
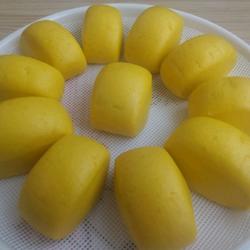
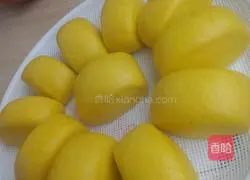
10.Cut the kneaded dough and the long cylindrical shape into smooth and even steamed bun embryos of the same size (the knife needs to be fast).After cutting, gently modify a few corners with your hands and do everything in sequence

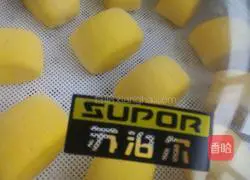
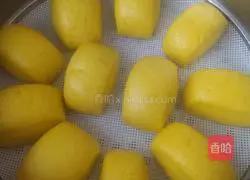
11. When placing the cut steamed buns on the steamer, be careful to avoid deformation.Keep a certain distance between them because they will grow bigger after steaming and cannot be squeezed.Let them wake up again for 15 minutes before steaming
12. When 15 minutes are up, add cold water to the pot and start steaming the buns over high heat.After the water boils, change to medium heat and steam for 12 minutes.Then turn off the heat.After simmering for 3 minutes, take off the lid.Lightly.Be careful not to drip steam onto the steamed buns when you lift the lid sideways
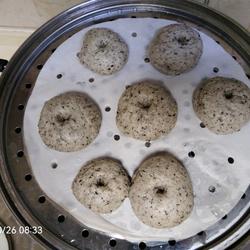
13.This is steamed.Take off the lid and see that there is not a drop of water dripping!
14.After the pot is put on the plate, the second pot is steamed
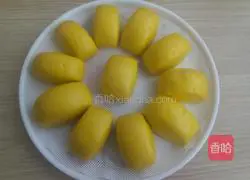
15. These ingredients are steamed into a total of 32 steamed buns of the same size as shown in the picture!
Tips
Steaming steamed buns in a pot with cold water will heat them more evenly.The steamed buns steamed in a pot after the water boils will not be elastic.After steaming, don't rush to open the lid and let it simmer for 3 to 5 minutes.If you open the lid of the pot right away, the steamed buns will become wrinkled!
Copyright Statement:This article is a reprinted article, and the copyright belongs to the original author. Please retain the source when reprinting!