Ingredients
Crust: plain flour ( 165g ) | Invert syrup ( 116g ) |
Peanut oil ( 50g ) | Laoshui ( 4g span> ) |
Custard powder ( 5 grams ) | Filling: salted egg yolk ( 7-8g × 20 pieces ) |
Lotus seed paste ( 25-28g×20 ) | Brush the surface with egg yolk liquid: egg yolk ( 1 piece ) |
Egg white ( 1/4 ) |
How to make egg yolk and lotus paste mooncakes
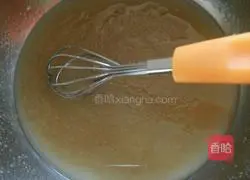 1. First make the crust, mix the syrup, peanut oil, water, and custard powder, then add the flour without sifting.Chinese dim sum does not pay attention to this aspect.(It is optional to add custard powder, it is best to add custard powder, so that the baked crust will be orange and attractive)
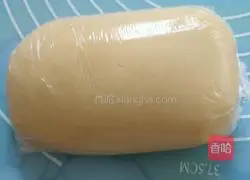
2. Then use a spatula to mix evenly from bottom to top, then wrap it in plastic wrap and set it aside to rest for at least 2 hours.It is best not to refrigerate.The refrigerated pie crust will not work even if it warms up again.It feels a little sticky on my hands, so I let it relax at room temperature, and I feel that the longer it takes to relax, the less sticky it becomes.
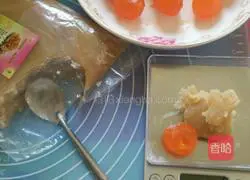
3. Next, divide the fillings.Since the egg yolk needs to be wrapped, follow the skin filling 3:7 According to the proportion, the filling part is 35 grams, so egg yolk + lotus paste = about 35 grams.I weighed and wrapped it at the same time.
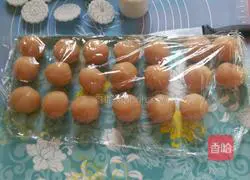
4. Wrap the egg yolk with lotus paste, cover it with plastic wrap and set it aside.This is done.The pie crust is almost relaxed, and then divide the crust into 15g pieces.
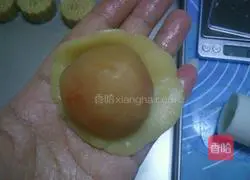
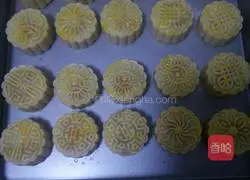
5. Then take the pie crust and use your thumbs to flatten the middle and add a portion of the filling.Use the tiger's mouth to slowly push up the cake skin bit by bit and then close it.There is no need to sprinkle flour to prevent sticking.Just place the mooncakes in the mold and press out the pattern.The cake skin is oily and will not stick without powdering.
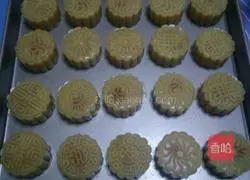
6.Hey, the yolks are quite big, and half of them are exposed, one by one.Once pressed, you can bake it.There is no need to spray water because it is not coated with anti-stick powder.Bake it at 200 degrees for five minutes to set it, then take it out and brush the surface with egg yolk liquid.
7.Don’t be greedy when brushing the egg yolk liquid.If the brush is stained with egg liquid, it should be on the edge of the bowl.Press it and then brush it on the mooncake so that the pattern is clear.
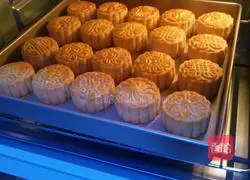
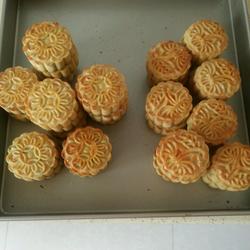
8. Continue to bake at 180 degrees for 15 minutes.Look at the mooncakes that are a little bulging around.At the same time, when the surface is colored, it means it is baked.
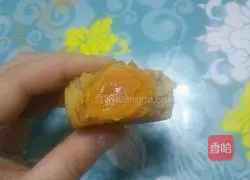
9. The mooncake is broken open and the egg yolk is oily.
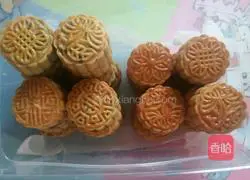
10. After cooking, put it in a sealed box to drain the oil.The one on the left is freshly baked and allowed to cool.Packed, the one on the right is baked the day before and is ready to eat after all the oil has returned.
Tips
Regarding oil return: The freshly baked mooncake skin is hard and not very shiny.After a day, you will find that the cake skin begins to slowly become oily.This is oil return.According to my experience in making mooncakes, the crust of this mooncake is the most delicious 3-4 days after it is baked!
Copyright Statement:This article is a reprinted article, and the copyright belongs to the original author. Please retain the source when reprinting!