")
Ingredients
A: Protein ( 4 ) | Fine sugar ( 15g ) |
White vinegar ( 3-5 drops ) | B: Egg yolk ( 4 pieces ) |
Fine sugar ( 10g ) | Corn oil ( 50g ) | Red Heart Dragon Juice ( 60g ) | Low-gluten flour ( 90g ) |
How to make dragon fruit chiffon cake (8 inches)

1.First separate the egg whites and egg yolks, and weigh the required ingredients for later use.
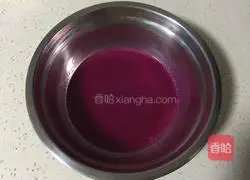
2. Beat the corn oil and dragon juice until the water and oil are combined..
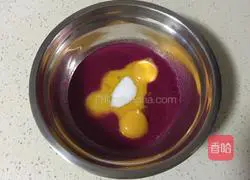
3.Add egg yolk and fine sugar and continue beating.
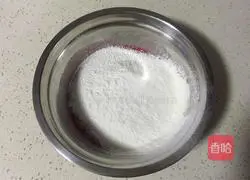
4.Sift in low-gluten flour.
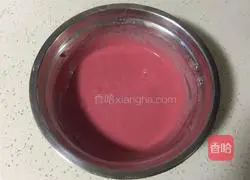
5. Stir until there are no particles.
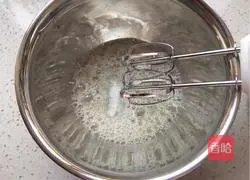
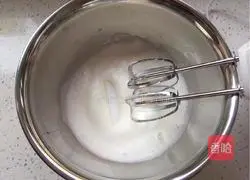
6. Beat the egg whites: Beat the egg whites with an electric egg beater until fish-like.Add 3-5 drops of white vinegar to the eye bubbles and beat them into pieces, then add 1/3 of the fine sugar and beat.
7. Beat until the protein volume doubles and the protein volume is not reduced., then add 1/3 of the fine sugar and beat.
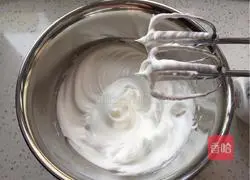
8. Beat until the egg whites have lines and the peaks are drooping, add With the remaining fine sugar, continue to beat until the peaks are short and straight, and you can achieve very stiff peaks.
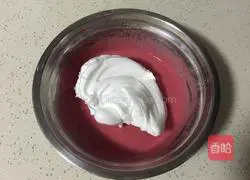
9. Take 1/3 of the meringue and add it to the beaten egg yolks Confused.
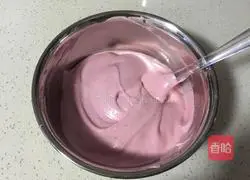
10.Use a rubber spatula to stir by cutting and stirring.to uniformity.
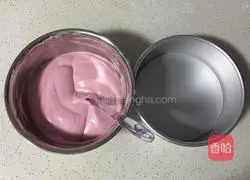
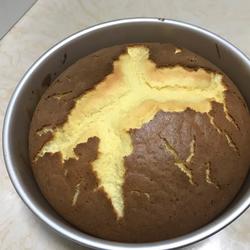
11.Pour the mixed batter into the remaining 2/3 In the meringue basin, stir until the egg whites and batter are completely combined.
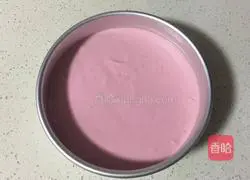
12.Pour into an 8-inch cake mold, from top to bottom Smash it a few times to remove air bubbles.
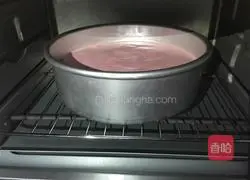
13. Preheat the oven in advance, bake at 130 degrees for 50 seconds minute.
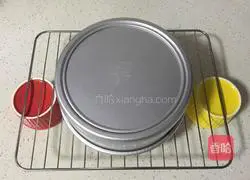
14. Take out the baked cake and smash it twice immediately.Place upside down on the grill grid.(There should be a gap at the bottom of the grill)
15.Wait for the cake to cool Afterwards, the mold can be demoulded.

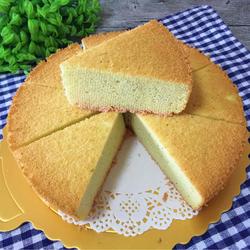
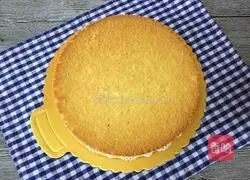
16. Finished product picture.
Tips
1.Because dragon fruit has its own sweetness, the amount of sugar used in the recipe is not very large.You can add or subtract the amount of sugar according to your own taste.
2.Since each oven model is different, the temperature is also different.You can control the temperature according to your own oven to avoid the temperature being too high and the cake will be burned.
Copyright Statement:This article is a reprinted article, and the copyright belongs to the original author. Please retain the source when reprinting!