Ingredients
Whipped cream ( 100g ) | Egg liquid (egg egg white) ( 3 pieces ) |
Egg liquid (egg yolk) ( 2 pieces ) | Low-gluten flour ( 50g ) |
Sugar (for egg yolk liquid) ( 10g ) | Sugar (for protein solution) ( 25g ) |
White vinegar ( a few drops ) |
How to make light cream cake
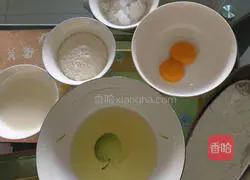
1.Weigh and prepare the ingredients.Add a layer of aluminum foil to the bottom of the mold, and grease the walls of the mold with butter so that it can be easily removed from the mold after baking.
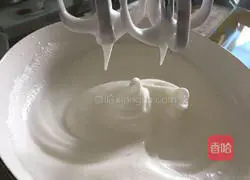
2. Make sure there is no oil or water in the mixer and protein liquid bowl.First, add a few drops of vinegar to the egg white liquid to remove the smell.Then, use an electric mixer to beat the egg whites, and add sugar in three stages: when the egg whites just form fish-eye bubbles, when the egg whites become thick, and when the egg whites gradually become textured.Whip the egg whites until they form a small pointed shape when lifted out of the mixer.

3. Add sugar to the egg yolk liquid and stir evenly.
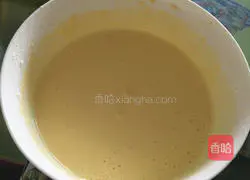
4. Add light cream to the egg yolk liquid and stir evenly.
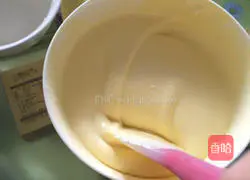
5. Sieve the low flour into the egg yolk liquid, and stir it evenly by hand first to avoid the flour flying.Stir slightly again with an electric mixer.Add one-third of the whipped egg white liquid to the egg yolk mixture, and mix evenly until smooth and smooth.
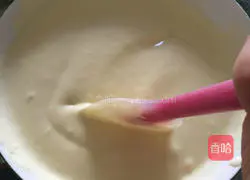
6. Turn on the power switch of the oven and preheat it to 140 degrees.Pour the mixed liquid into the remaining egg white liquid, continue to stir, and mix evenly until smooth and smooth.

7. Slowly pour the mixed cake liquid into the mold, shake out the air bubbles, or use a toothpick Make a Z-shape in the liquid to remove air bubbles.Put it in the mini oven and bake it in a water bath at 140 degrees for 50 to 60 minutes.If it is a 32L oven, increase the temperature appropriately and reduce the time.
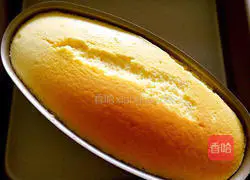
8. Observe the surface of the cake in the oven at any time.If the surface layer changes color, cover it with a layer of aluminum foil Prevent scorching.Bake until the surface of the cake no longer feels rustling or fluid when pressed.It is done.
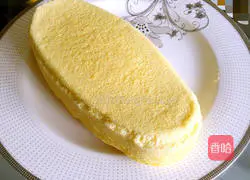
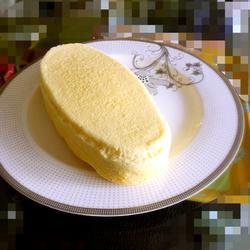
9. Take it out after baking and let it cool naturally to demold.Plate and enjoy!
Tips
Each oven temperature has its own characteristics, and the baking temperature and duration need to be adjusted according to its own characteristics.
Copyright Statement:This article is a reprinted article, and the copyright belongs to the original author. Please retain the source when reprinting!