")
Health benefits
White sugar: activates blood circulation and removes blood stasis
Ingredients
High-gluten flour ( 150g ) | Low-gluten flour ( 50g ) |
Milk ( 125g ) | Olive oil ( 20g ) |
Yeast ( 6g ) | Salt ( 5g ) |
White sugar ( 10g ) |
Milk pizza embryo (homemade pizza How to make crust)

1. Have all ingredients ready.
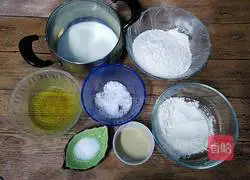
2.Calculate the ratio.150g high flour, 50g low flour, 125g milk, 20g olive oil, 6g yeast, 5g salt, 10g sugar.
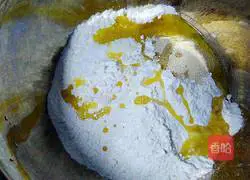
3.Put all ingredients except milk into a large bowl.
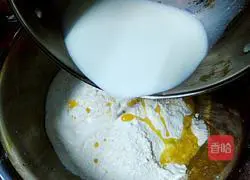
4. Heat the milk until it is slightly open.Pour the milk into the bowl.
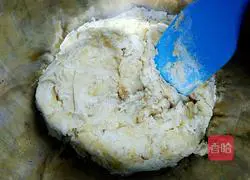
5.Use a shovel to mix evenly.

6.Knead it into a smooth dough with your hands.
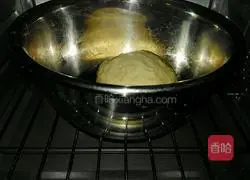
7. Cover the kneaded dough with a damp cloth or wrap it in plastic wrap Let it ferment in a warm place.I put it directly into the oven and use the fermentation function to ferment.(It usually takes one to two hours to ferment without the help of tools.)

8.After the dough has risen to double in size, dip your fingers in dry flour and poke a hole until it doesn't collapse or fall back.
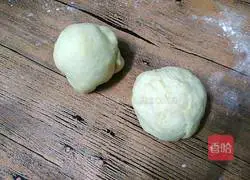
9. Take out the dough and knead it for a while, then divide it into two small pieces.Let the dough rest for about 10 minutes.
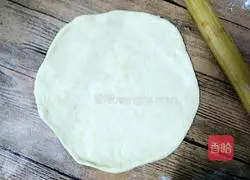
10.Use a rolling pin to roll the dough into a pizza pan-sized dough..

11. Brush a layer of oil on the pizza pan.
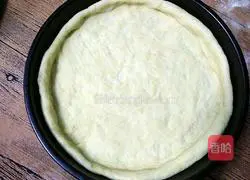
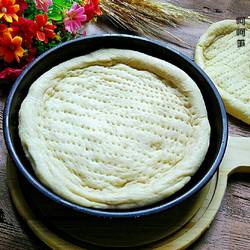
12.Put the dough into the pizza pan and press it with your hands.A slightly thicker pancake in the middle.
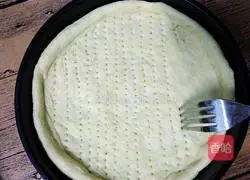
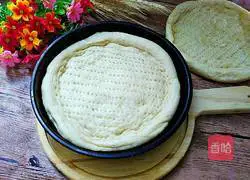
13. Use a small fork to poke some small holes evenly in the cake base..

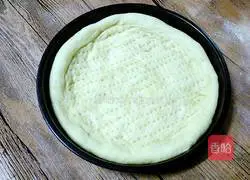
14.The pizza dough is ready.

15. Put it in the oven at 150℃ and bake for 8 minutes, take it out.This process is mainly for preservation.(The following two steps can be omitted.Because I need to make a few more pictures for storage, I bake them in the oven for a while after finishing them, so that they can be shaped and saved.If you eat them directly, you don’t need this process.They are cooked and eaten immediately.)
16. After cooling, you can put it in the refrigerator or freeze it for storage.
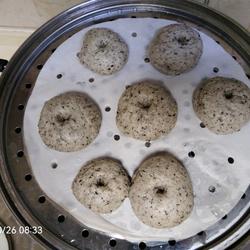
17.The milk-flavored pizza embryo is fragrant and delicious.The taste is amazing.I bought it.Quickly add your favorite ingredients to make pizza.
Tips
1.Use milk when kneading the dough, which will make it fragrant and taste good.Heating the milk can make the dough stronger.You can use warm water instead of milk.
2.Olive oil can be replaced with butter, corn oil and other oils that have no special smell.
3.Poke some small holes in the prepared cake embryo with a fork to prevent expansion during baking.
4.The thickness of the dough can be determined according to your own preferences.If you like it softer, make it thicker and let it rest for a while before baking.
5.The prepared pizza dough can be directly put with the required ingredients to make pizza for consumption.Because I need to make a few more pictures for storage, I bake them in the oven for a while after finishing them, so that they can be shaped and saved.If you eat it directly, you don’t need this process.You can eat it now and cook it now.
6.My measurement is for two 8-inch pieces.You can convert by yourself according to your needs.If you only use high-gluten flour, use 125g of high-gluten flour for an eight-inch sheet.
Copyright Statement:This article is a reprinted article, and the copyright belongs to the original author. Please retain the source when reprinting!