Health benefits
Eggs: nourish blood
Butter: activate blood circulation and remove blood stasis
Sesame seeds: moisturize
Ingredients
High-gluten flour ( 400g ) | Milk ( 220g ) |
White sugar ( 50 grams ) | Eggs ( 1 ) |
Yeast powder ( 6 grams ) | Bean Paste Filling ( 250g ) |
Butter ( 20g ) | Sesame ( Adequate amount ) |
Salt ( 3 grams ) |
How to make bean paste bread flowers

1.Prepare the ingredients
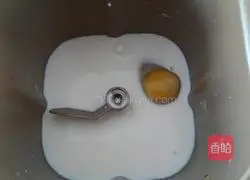
2.Put milk into the bread bucket and crack in an egg

3.Put salt and sugar diagonally, then add flour, make a small nest on the flour, and add yeast powder
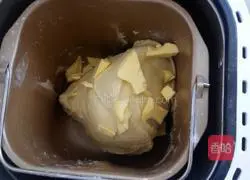
4. Start the dough button 8 of the bread machine.After half an hour, add the pre-softened butter and start the dough button again

5.After half an hour, the facial mask came out
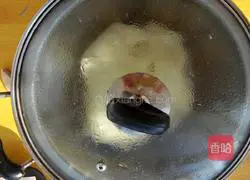
6.Put the dough in a basin, sit on a soup pot filled with warm water, cover the pot and ferment.Fermentation is faster this way in winter.

7. Ferment until twice as big
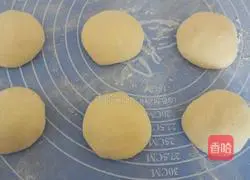
8. Take out the dough and knead it to deflate the air.Divide the dough into two pieces.Divide one piece into 6 dough balls of about 60 grams.Knead them smooth and cover them.Cover with plastic wrap and let rise for 15 minutes.These are the amounts for two plates

9.Weighed red bean paste, 20 grams each
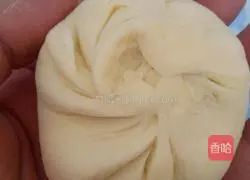
10.Take a piece of dough, flatten it with your hands, wrap it with a bean paste filling, like making a bun, and close it Down

11.Make all the dough

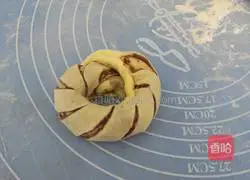
12.Take a piece of dough and roll it into a ox tongue shape with a rolling pin
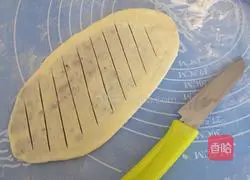
13.Use a fruit knife to lightly cut a few times without cutting both ends, just expose the bean paste filling
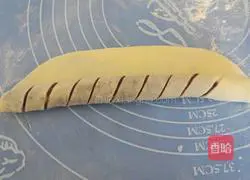
14.Turn the dough over and roll it up from one side
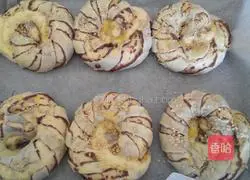
16.Make all the breadcrumbs and place them on a baking sheet lined with greaseproof paper
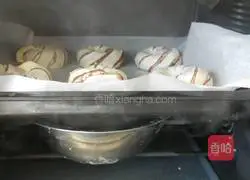
17.Put it in the oven, place a large bowl filled with hot water on the lower shelf, and ferment again
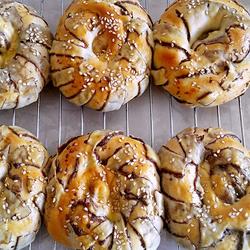
18.After fermentation, take out the baking sheet, brush with egg wash, and sprinkle with sesame seeds
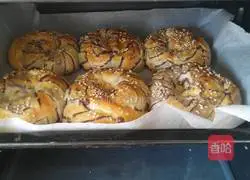
19.Oven at 160 degrees, Preheat for 5 minutes, middle layer, heat up and down for 25 minutes
Tips
The temperature setting depends on the conditions of your own oven.Keep an eye on the oven for the last few minutes to prevent burning.
Copyright Statement:This article is a reprinted article, and the copyright belongs to the original author. Please retain the source when reprinting!