Health benefits
Yogurt: activate blood circulation and remove blood stasis
Butter: activate blood circulation and remove blood stasis
Ingredients
Guijingge Sesame Pills ( 8 capsules ) | Milk( 40g ) |
White sugar ( 50g ) | Yoghurt ( 250g ) |
Whipping cream ( 250g ) | White sugar (added to whipping cream) ( 20g ) |
Gelatine tablets ( 10g ) | Oreo cookie crumbs ( 80g ) |
Butter ( 40g ) | Decorating materials: ( Amount ) |
Whipping cream ( 100g ) | White sugar (added to whipping cream) ( 10g ) |
Chocolate sauce ( a little ) |
How to make black sesame mousse cake
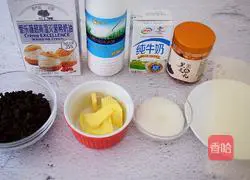
1.Prepare materials
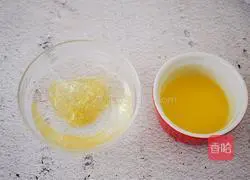
2.Soak the gelatine slices in cold water until soft and set aside, melt the butter in water and set aside
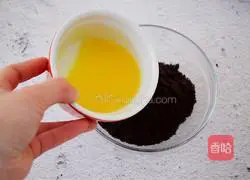
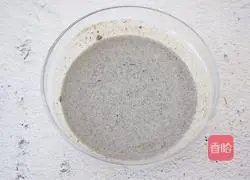
3.Pulse the Oreo cookies into powder with a food processor, add butter and stir evenly
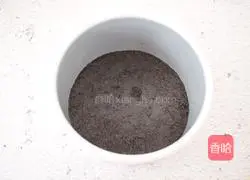
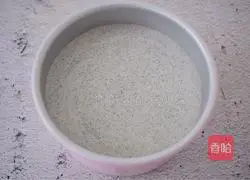
4.Pour it into a 6-inch cake mold and compact it, then put it in the refrigerator for later use
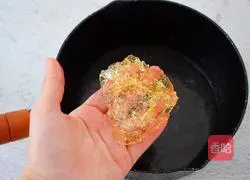
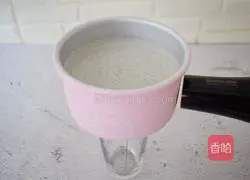
5.Put the sesame balls, milk and sugar into a food processor and puree until pureed.Pour into the milk pot and add the soaked gelatine slices.Remember to squeeze out the water before adding in
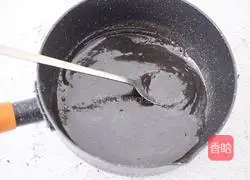
6. Place on the stove and heat over low heat until the gelatine melts, let cool and set aside

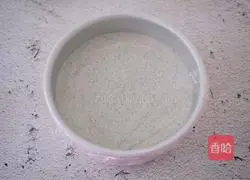
7.Add the cooled sesame puree to the yogurt
8.Stir well and set aside
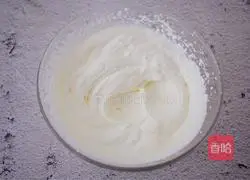
9. Add sugar to the evaporated milk and beat with an electric egg beater until it has obvious texture and can still flow
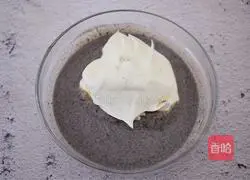
10.Add the whipped cream to the sesame paste
11.Mix evenly
12.From Take out the mold from the refrigerator and pour the mixed mousse paste into the mold
13. Cover Cover with plastic wrap and refrigerate for 4-6 hours.If you have time, it is best to refrigerate overnight
14.Take out the solidified mousse cake, put a cup on the bottom, and then use a hair dryer to blow around the mold
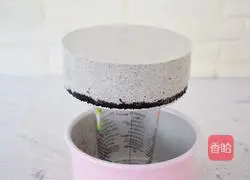
15.The mold will slowly fall off.Use a serrated knife to gently swipe the bottom to release the mold.
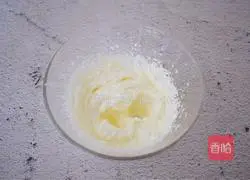 16. Whisk the light cream and sugar until it is decorated
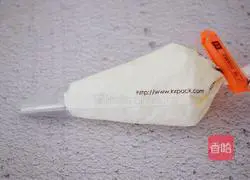
17.Add a medium round piping tip to the piping bag, and then put the whipped cream into it
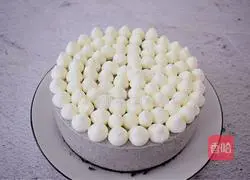
18.Carefully squeeze onto the mousse cake
19.And then decorate with chocolate sauce
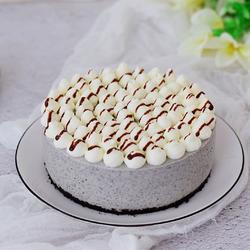
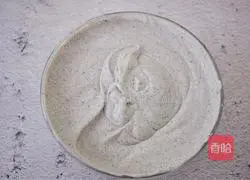
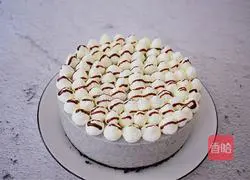
20.Finished product picture
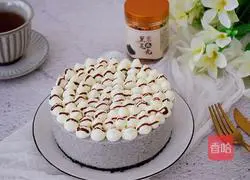
21.Figure 2
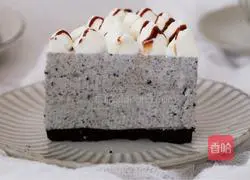
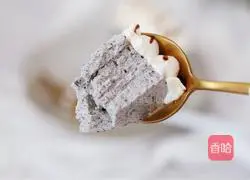 22.Figure 3
Copyright Statement:This article is a reprinted article, and the copyright belongs to the original author. Please retain the source when reprinting!