Health benefits
White sugar: low protein
Ingredients
Red beans (bean paste) ( 300g ) | Water (bean paste) ( 500g ) |
Conversion syrup (cake crust) ( 270g ) | Corn oil (bean filling) ( 60g ) |
Flour (crust) ( 400g ) | Boiled water (alkaline water for cake crust) ( 10 grams ) |
Edible soda ash (cake alkaline water) ( 3 grams ) | Sesame ( Add according to personal taste ) |
Aluminum foil ( 10 cm square ) | White sugar ( 100g ) |
How to make red bean paste mooncakes
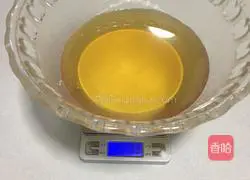
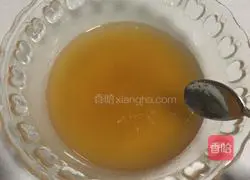
1. Weigh the inverted syrup and add it to the basin, and add 100 grams of corn oil.
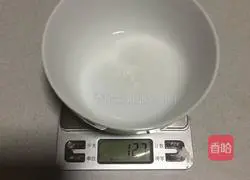
2. Make alkaline water: weigh 10 grams of water and add 3 grams of edible soda ash.Make 13 grams of alkaline water.
3.Weigh 8 grams of alkaline water and add it to the basin, stir evenly.The remaining 5 grams of alkaline water is used for washing dishes.
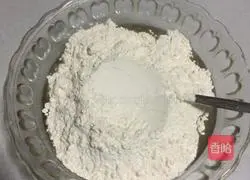
4.Add 400 grams of flour, stir evenly and set aside.
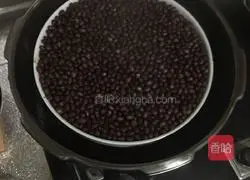
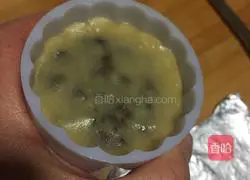
5. Quick method to make red bean paste filling: pick up 300 grams of small red beans, wash them and add 500 Pour water into an eight-inch bowl and steam in a pressure cooker for 40 minutes.Put it into the bread machine, add 100 grams of white sugar and 60 grams of corn oil, select "Kneading Mode" for 20 minutes and the bean filling will be made.For details on how to make red bean filling, please refer to my other recipes.
6.After the red bean filling is ready, wake up the mooncake skin for another hour and wait for the red bean filling to dry.cold.The mooncake skin needs to be rested a lot mainly to allow the oil to spread evenly.
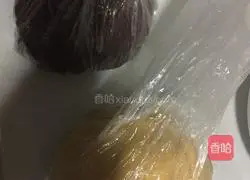
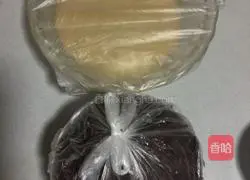
7.After cooling, put them into a fresh-keeping bag.The main purpose of placing it in a bag is to facilitate weighing and dispensing without losing moisture.
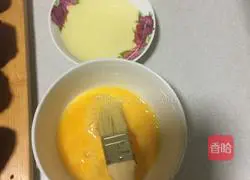
8. Prepare egg liquid and oil dish for later use.
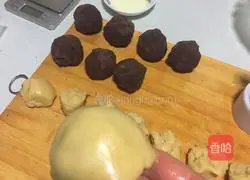
9. 50 to 60 grams of red bean paste filling, 25 to 35 grams of pie crust, divided into portions.For each pan made for several months, divide a few filling balls and crust balls into pieces, and put the rest in a plastic bag.Do not divide them all at once.Press the pie crust to the size of your palm and cover the mooncake filling with the pie crust.
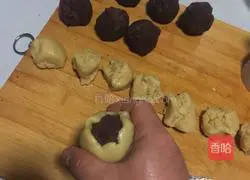
10. Use the tiger’s mouth to gently gather the pie crust.
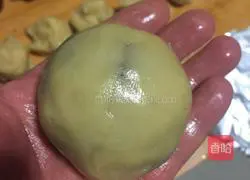
11. to a smooth mass, a slight gap is no big deal.
12. After oiling the 100g mooncake mold, align the thickest part of the mooncake dough To emboss, gently squeeze the mooncake dough with your thumbs until all the surrounding sides are close to the mooncake mold.
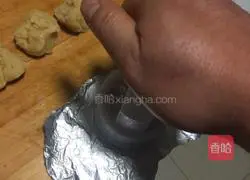
13. After applying oil to a small piece of kitchen aluminum foil, apply even pressure to the mooncake mold Squeeze it on aluminum foil paper, and sprinkle a layer of sesame seeds under the mooncake to let the sesame seeds pierce the crust to create some artificial exhaust points.After the mold spring returns to its natural position, squeeze it a few times to ensure that the filling skin is completely attached.Sesame seeds will produce oil during roasting to facilitate the removal of the coating.If there are no sesame seeds, apply a layer of corn oil.
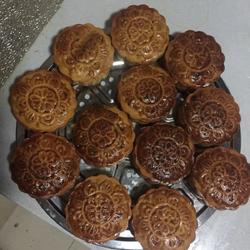
14.Peel the film evenly on the oil paper and place it on the baking tray.I used the stainless steel lower drawer of a 28cm steamer as the mooncake baking pan, mainly to facilitate the venting of the lower part of the mooncake.
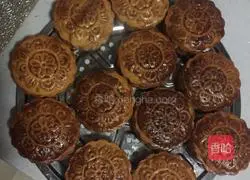
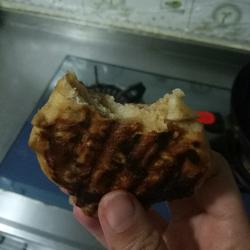
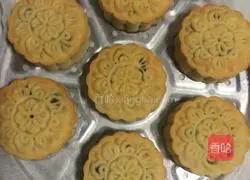
15. Preheat the oven at 200 degrees for 10 minutes, bake for 8 minutes to set, take out the mooncakes and let them dry for five minutes Brush the egg wash on the mooncakes.Be careful when brushing the egg wash.The mooncakes will be soft at this time.Set to 160 degrees and bake for 25 minutes.Be careful to only brush the upper surface of the mooncake with egg wash.After baking, place it in the oven for five minutes before taking it out of the pan.After taking it out of the pot, place it with the flower side down for half an hour before flipping it over.The process of baking mooncakes can make the next pot of mooncakes, a streamlined operation.Each oven has different temperaments, so it’s best to carefully observe the crust coloring process.The fragrant mooncakes are out of the pan.
Tips
Aluminum foil paper is mainly used for film transfer.
Copyright Statement:This article is a reprinted article, and the copyright belongs to the original author. Please retain the source when reprinting!