Health benefits
Eggs: protect eyes and improve eyesight
Yogurt: low protein
Ingredients
Eggs ( 3 ) | Fine granulated sugar ( 30g ) |
Low-gluten flour ( 40g ) | Corn starch ( 20g ) |
Yoghurt ( 100g ) |
How to make NN oil-free yogurt cake

1.A large collection of raw materials.You can choose any flavor of yogurt, as long as it is what you like.

2. Add a few drops of lemon juice, start to beat the egg whites, add in three times White sugar.
This is the time to add sugar for the first time.Beat the egg whites until they resemble fishnet foam.
3. When the egg white becomes larger and a few lines appear, the second Add sugar again and continue to beat.

4. Add sugar for the third time, the egg whites have obvious lines, use a whisk Turn to high speed and beat the egg whites until wet peaks form.

5. Beat the egg whites until there is a curved sharp corner when you lift the egg beater., that is, 70% to 80% wet foaming, put it in the refrigerator for later use.

6.Next, let’s deal with the egg yolk.
Add the yogurt to the egg yolks and stir evenly.
7. Sift the low-gluten flour and cornstarch into the egg yolks, and stir Evenly to no dry powder particles.

8. Stir the egg yolk paste.
At this point, you can preheat the oven, setting the upper and lower heat to 150 degrees.
9. First take 1/3 of the egg white and egg yolk paste and mix evenly.
10. Pour the egg yolk paste back into the remaining 2/3 of the egg whites , stir evenly.
Use the stir-frying method to turn the vegetables.Do not make circular motions, as this will cause defoaming.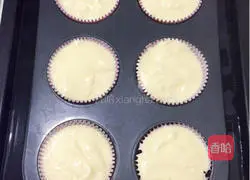
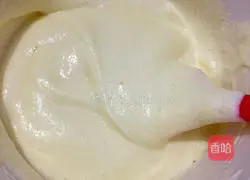
11.Put the mixed cake batter into the mold and shake it out.bubble.
Pour an appropriate amount of water into the baking pan and bake using the water bath method.The finished cake will have a softer texture.
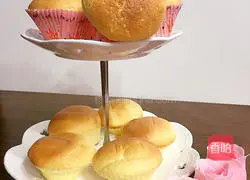
12.Put in the middle layer of the oven, heat up and down, 150 degrees, 40 minutes.
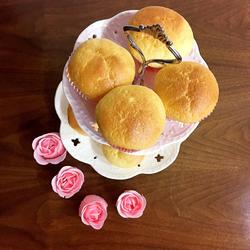
13.This method can make a 6-inch cake, I will do it directly Put it in a paper cup and save washing~
Tips
1.The finished product will shrink slightly, don’t worry.
2.If using a 6-inch cake mold, turn it upside down after taking it out of the oven and let it cool before removing it from the mold.
3.Adjust the temperature and time according to your own oven.
Copyright Statement:This article is a reprinted article, and the copyright belongs to the original author. Please retain the source when reprinting!