Health benefits
Eggs: nourish blood
Butter: activate blood circulation and remove blood stasis
Ingredients
High-gluten flour ( 225g ) | Low-gluten flour ( 25g ) |
White sugar ( 30 grams ) | Salt ( 3 grams ) |
Eggs ( 2 ) | Pure milk ( 120g ) |
Yeast ( 5g ) | Butter ( 40g ) |
Dried cranberries ( 80 Gram ) |
How to make Christmas wreath bread

1. Finished product picture.
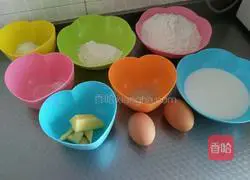
2. Prepare the required ingredients.

3. Leave one yolk of the two eggs to brush the surface, and butter as well, and the others All poured into the bread bucket.
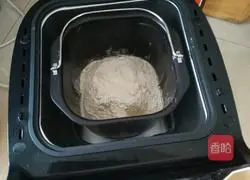
4.Put it into the bread machine.
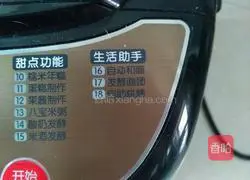
5.Select No.16 automatic face key.(Time is 15 minutes)
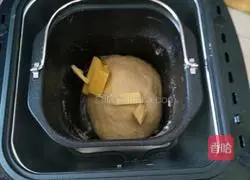
6.When the time is up, add the butter 1.

7.Select key 17 to ferment the dough for one and a half hours.
8. When the time is up, take it out in a hurry and rub it a few times to release the air.
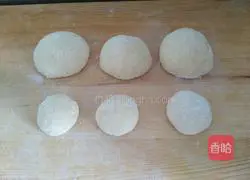
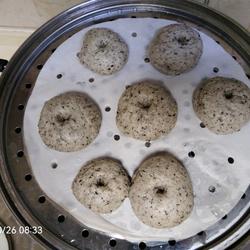
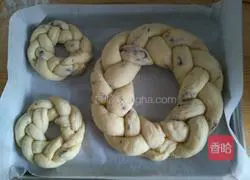
9. Then take two-thirds of the noodles and divide it into three parts, and do whatever you want with the rest.good.Because my oven is small, I can't put two at the same time.I can only make one large one and two small ones.Cover with plastic wrap for secondary fermentation.
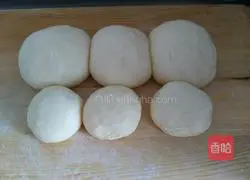
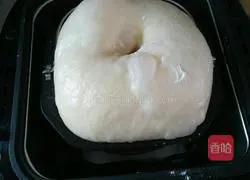
10. Fermentation is ready.
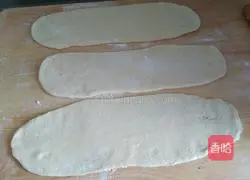
11. Roll the dough into a long strip.
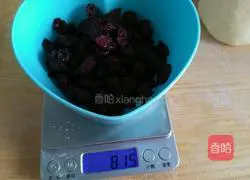
12.Measure the grams of dried cranberries.(If the pieces are big, chop them into smaller pieces)
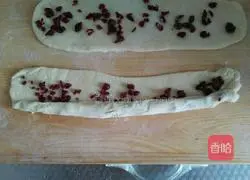
13.Then spread the dried cranberries on top On the pancake, start rolling from one side.
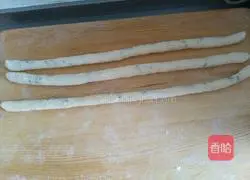
14.After rolling, roll it into a 60 cm thin strip.
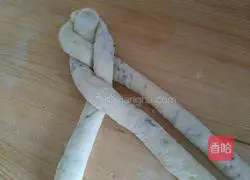
15. Then start braiding.
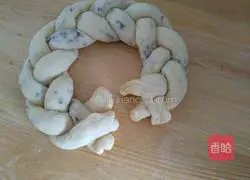
16. Knit it tightly at the joint, and then pinch the two ends together correspondingly.
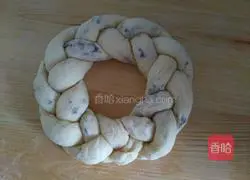
17. Completed.
18. For the remaining one-third of the noodles, I made two little touches.Hehe
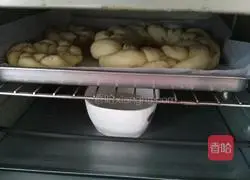
19.Put it in the oven, adjust to the fermentation button, and put a bowl of water in the oven.
20. There is no standard time for this re-fermentation, and it should be measured according to your own oven.
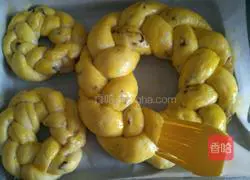
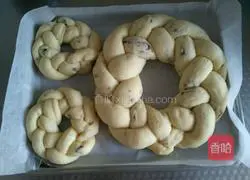
21. Then use the egg yolk left before to brush the surface.

22. Put an appropriate amount of dried cranberries, preheat the oven to 150 degrees, and wait for 20 minutes.It’s ready to go.
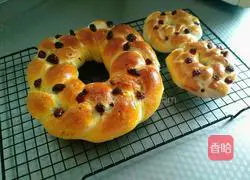
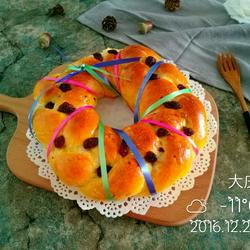
23. Time is up, my garland bread is out of the oven!
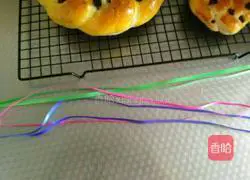
24.Prepare a few colorful strips and wrap them around the bread.

25. It’s done, let’s take a recent photo! So beautiful!
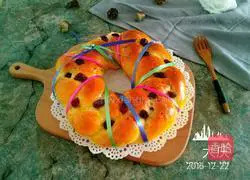
26. Finished product picture.
Copyright Statement:This article is a reprinted article, and the copyright belongs to the original author. Please retain the source when reprinting!